Thursday, December 29, 2011

Shop Talk: My First Year As A Freelance Designer

With 2011 coming to an end, I've spent a lot of time reflecting on the year and making plans for 2012. At the beginning of this year, I quit my restaurant job (which had been my bread & butter) and jumped into freelance design work full-time. It was an interesting year to say the least consisting of break throughs as well as break downs. But overall I made it! The simple fact that I managed to find consistent work for a full year and was able to stay out of debt, pay my bills on time and still have some fun is definitely an accomplishment! Here are some of my struggles and lessons learned from my first year as a freelance graphic designer:


Struggle #1: Was I making a big mistake? Jumping into full-time freelancing brought up a ton of insecurities in myself, my work, and my own abilities. I struggled a lot with self doubt and my decision to work freelance rather than full-time. I knew freelance was a better fit for me and the life I wanted to live, but did I have enough work experience to be successful? Was my portfolio good enough? Was I worth what I wanted to charge my clients?

Being on my own felt extremely vulnerable and I was terrified of failure. I wanted the path I had chosen for myself to be justified. I wanted someone to tell me I was making the right decision. Most often I was told the exact opposite. I was literally told by a recruiter to "suck it up and grow up. A full-time, 9-5 job is the only way to be considered successful and the only way to have a legitimate career." I practically lost my mind when I was told that! For me, the idea of working the same job, doing the same thing, 40-hours a week seemed like a prison! Luckily, I have some great friends that supported me and my "non-traditional" career choice and even referred me to new clients!

Lesson Learned: Stay true to myself. Surround myself with people who support my decision to work freelance and tune the rest out.


Struggle #2: Finding interesting work and gaining new clients. At first, I took on any work I could get. I had no idea of what type of work I actually wanted to be doing and ended up feeling unhappy about the low-budget, low-creative projects I was accepting from clients. It wasn't until September that I actually realized who my ideal client was and the type of work I'd be most excited about doing! Once I figured that out, I redesigned my portfolio to reflect that and within one week, won a project with my dream client, Lisa Frank! (Project TBA in 2012).

Lesson Learned: Identify my ideal client. Knowing exactly what type of work I wanted to do inspired me to rebrand myself to appeal to that specific market. And once I did that, it paid off almost instantly- Hurray!


Struggle #3: Financial planning, running a business + work flow. Money was a definite worry. How do I make a budget? How much money do I need to make to get by? I have to pay my own taxes? What? One month I was overloaded with projects, the next I was twiddling my thumbs. I experienced some drastic changes in my workload and it freaked me out! Then I realized- this is the life of a freelancer. It's ok that I don't have any big projects right now and it's actually a good thing! For example, December was a slow month for freelance work. At first I was worried about not having enough income to make it through the month, but the money I had made in the busy months previous helped me through and I was able to focus on other things! I was a vendor at Crafty Wonderland, I visited friends in Seattle, did some reading and even started planning for 2012.

Lesson Learned: The ebbs and flows of freelance life is what makes being my own boss worth it! When I'm not fully booked with freelance projects I can change my focus to personal projects, reorganizing, and planning. I still have A LOT to learn about running my own business. One of my goals for 2012 is to design an easy system for keeping track of financial stuff and filing quarterly taxes.


Wednesday, November 30, 2011

Pretty Discoveries

I know it's been ages since I've done a Pretty Discoveries post. My blog has sorta fallen off the face of the earth these past few months. But I want to revive it! I miss sharing my latest inspirations, wishlists,  creative projects, and adventures. I plan to start a new blog schedule in 2012 with regular weekly posts. Till then, I hope to pop in with random things to share.

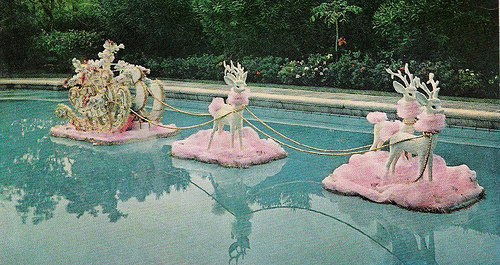
This holiday season I've been drawn toward pretty retro pinks. Hope you enjoy this bit of holiday inspiration ♥


Tuesday, November 22, 2011

Catalina

Hello! I just got back from a little vacation in Catalina, CA and thought I'd share some photos! We had a blast attending the Catalina Swing Dance Festival. We learned some great new moves!

It was so nice to escape the Portland rain! 


The big round building on the left is the Casino Ballroom, where we danced.

We took some great workshops during the day and danced to live music at night.
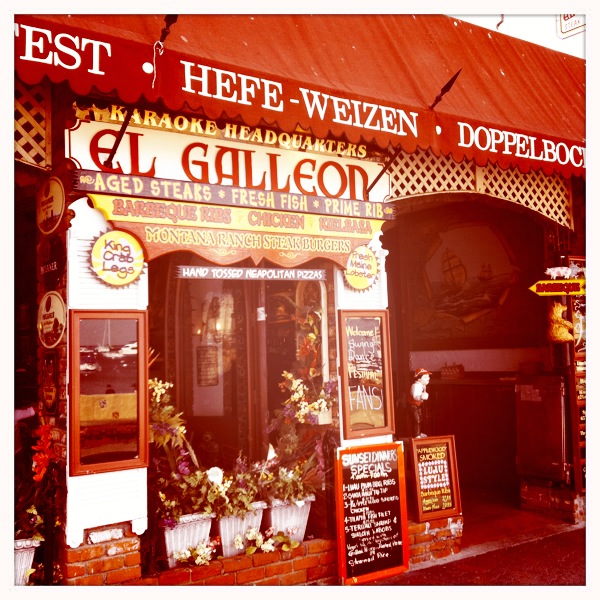
 After hours dancing took place at a local restaurant called, Antonios.

 James and I had so much fun dancing and relaxing on the island, we didn't want to leave!

Monday, October 31, 2011

Halloween Costume!

Hi! I thought I'd share photos of my halloween costume! It was super fun to wear and now I am obsessed with the color red! I could wear that cape EVERY day!
This was the first time I've ever tried styling a 1940's hairstyle. I followed this tutorial. My mom ended up helping me with it. I think it turned out great!

Dress- reconstructed vintage
Cape- vintage
Shoes- Nordstrom Rack
Basket- vintage

See the inspiration for this costume here.

Happy Halloween!

Happy Halloween! Hope you have a spoooooky Monday :)

Friday, October 28, 2011

Friday, October 21, 2011

Monday, October 17, 2011

Hello again...

Fall is in full swing and I feel busier than ever. I thought I'd share with you my current to-do list:

- Finish redesigning my online portfolio (I swear designing for myself is harder than designing for a client!)
- Finish my holiday card designs
- Have a pumpkin carving party
- Make lots of homemade soup
- Buy a new winter coat
- *Finish making my halloween costume

Speaking of halloween costumes, my boyfriend James and I have decided to do a couples costume of Red Riding Hood and the Wolf! Except we're not going to be the typical fairytale characters, rather we are going as Tex Avery's cartoon, Red Hot Riding Hood!


I hate the slutty costumes most girls wear on halloween, so I found a classy sexy vintage reconstructed red dress at the Portland Design Collective yesterday. I plan to alter it a bit more and then make a matching red cape! (I'll be sure to post photos soon!)

What are your plans for Halloween this year?

Sunday, October 16, 2011

Red Riding Hood

Check out this Red Riding Hood treasury I made on Etsy!


Friday, October 14, 2011

Friday, October 7, 2011

DIY Candy-Filled Pumpkin Tutorial!

Happy Friday everyone! I recently created this fun tutorial for the My Own Ideas blog and thought it was so cute, I'd share it on my own blog as well! Enjoy!


I originally got the idea from Martha Stewart’s Cherry Bomb Wedding Favor How-To. But instead of a cherry, I decided to make pumpkins for Halloween favors. Martha’s how-to says these are “a cinch to make” but it took a little practice for me to get the hang of it. After making 4 duds, I came up with these beauties!
Tools & Supplies:
• Orange tissue paper
• Scissors
• Candy (I used Reese’s Pieces)
• Covered floral wire
• Floral Tape
Directions:
1. Stack two layers of tissue paper. Using a small plate (6-8 inches in diameter is a good size), trace a circle. Cut out, cutting through both layers.

2. Place about 30 pieces of candy (fewer depending on the size of candy you use) in the center of the circle.
3. Gather the edges of the tissue up over the candy and twist together at the middle to create the stem of your pumpkin. You’ll want your ’stem’ to be about 3/4″-1″ long. Set aside.

4. Cut a piece of covered wire about 6″ long and bend one end at a 90 degree angle that is the same length as your tissue stem.


5. Wrap the long end of the wire around a pen or pencil to create the pumpkin’s twisty vine.

6. Place the straight end of your wire at the base of your tissue stem with the twist pointing downwards (toward the ‘pumpkin’). Using floral tape, wrap tightly around the wire and all the way up the tissue stem. If you want you can add a small piece of tape at the very top of the stem (to cover the top). Keep wrapping the tape around the stem until it is completely covered (remember floral tape isn’t like normal tape. It only sticks to itself, so wrap tightly and be sure to overlap it to ensure it holds together well).
(I added a small diamond gift tag from myownlabels.com to make it more personalized, but that is totally optional!)

PS. For anyone interested in personalized labels and tags, we are hosting a giveaway on the My Own Ideas blog for a $50 gift certificate from myownlabels.com!
Related Posts with Thumbnails